Command Line Interface CLI Patch Builder
You can instruct the patch builder yourself, completely evading the use of the GPC editor to build patches. You would have to send all the
In this tutorial, we will build a single server patch together so you can get to grips with how Game Patch Creator works at the basic level.
In our example, we will assume we have already released our “Version 1.0” of our game and this is shipped inside our installer, which our users already have installed. So we have “worked” on a theoretical 1.0.1 update, so here we will release this patch.
You’re always best having some kind of ‘Distribution Folder’ on your hard drive, containing all the files for the versions.
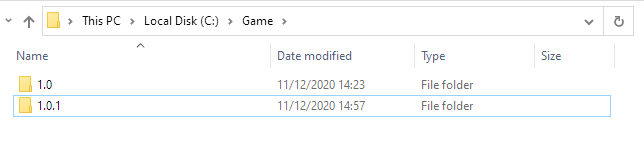
For our example, we have our ‘base’ 1.0 version in it’s own folder. We then have 1.0.1 which contains all the game files including the modified ones for this latest update.
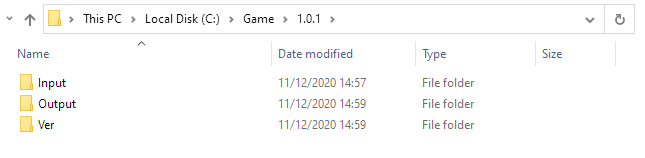
Inside the version folder, you can see we have 3 folders. Input, Output and Ver.
The Input folder is where all the game files are. The output folder is where the files will be output to after they have been scanned and renamed. The Ver folder will contain the patch list file that is generated after the scan.
Now let’s jump into the Game Patch Creator editor and start a new project. We will call ours ‘Test Game’…
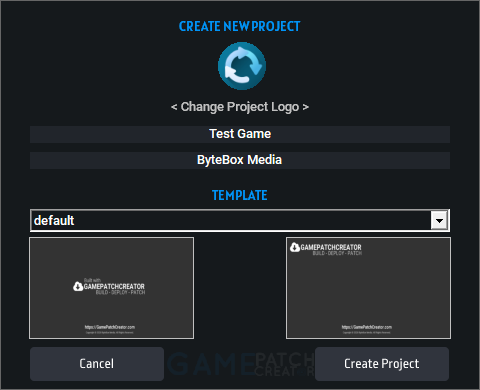
Once you have got a name for your patch project, click ‘Create Project’. The first thing we need to do is configure the ‘Update Settings’
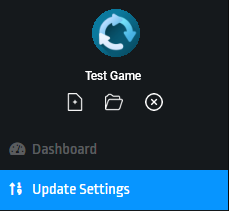
We want to use a local version.txt file to check the currently installed version. This is assuming we shipped a version.txt with our installation and it contains 1.0 inside. So we specify this local file here

Because the patch executable (patch.exe) will be in the same folder as the version.txt, we don’t need to specify a path, just the filename.
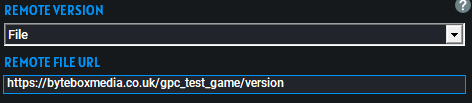
Next up is our Remote Version file. This is a text file that will contain the current, most up-to-date version number. The patcher will check this against the currently installed version. You can specify any text file name here, or simply rename version.txt to version, it will still work.
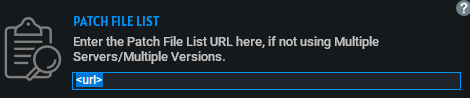
Next we need to specify where our patch file list will be online. Now because we haven’t uploaded this yet, we just need to specify where it will be once we have…

Next up is our ‘patch salt’. A patch salt is a unique set of characters you need to add to make these patches “yours”. Just make any number of characters, numbers and symbols up here in Notepad, then upload the file to your web server
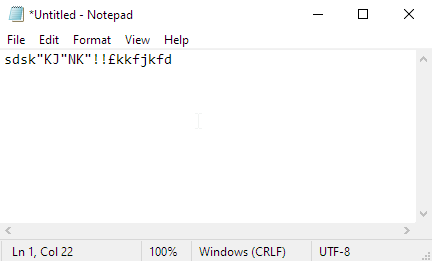
This must be between 5 and 32 characters long. No shorter and no longer. It CANNOT contain the # or : symbols. These are reserved for internal data strings.
Now upload this to your webserver as we have done and specify the absolute URL to it…

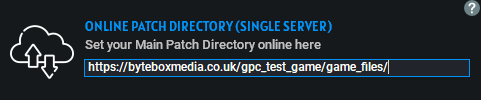
Now we just specify where we will upload our game files too once we’ve built the patch so here is our example…
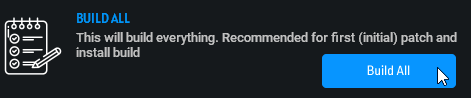
Now that we have the basic setup out of the way, we can now build the patch for 1.0.1. We simply need to click on ‘Build New Patch’ then click on Build All
Now you just need to select Input Folder, Output Folder and the output folder for the version file
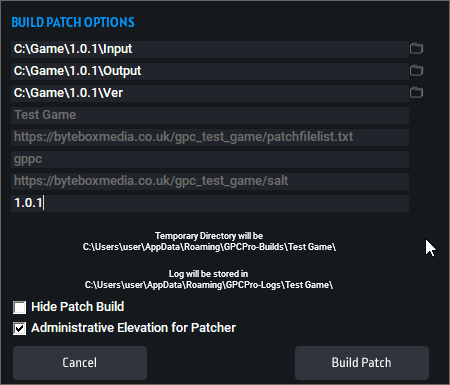
Once you have specified these, you need to pop the version number in the final field as you can see above. Our patch for 1.0.1 is now ready to build.
Simply click Build Patch and GPC will auto-execute the patch builder. Once the builder has scanned and renamed all the files, it will end and two folders will open up. The first is where your patch executable and settings file is, the second is where the patch log goes. Considering nothing went wrong with the build, you can simply close the log folder down.
Now you need to go to your FTP program and upload ALL the files from the 1.0.1 folder (which should have now been renamed) to your patch file URL (specified above).
Then you need to upload your patch list file to where you specified above.
Then you simply change the remote version number in the remote version file and your patch is now ready to be downloaded and patched to the users computers.
For your next patch, assuming none of your configuration has changed, you can simply just setup your folders as we did at the start (1.0.2), launch GPC editor and just go straight to Build New Patch. You just specify the folders, put in 1.0.2 and click Build Patch then re-upload the files, re-upload the patch list file and change your version number. That’s literally it.